Change network type from Public to Private in Windows 10 https://technicaltipsandtrices.blogspot.in/
thanks
when you connect to a network for the first time in Windows 10, the network location is automatically set to Public. This is the safest option as it will keep your computer invisible on the network. You should keep this default option whenever you connect your PC to a public network such as the Wi-Fi in Hotels, airport, trains, shopping malls etc., On the other hand, if you are connecting to a private network such as your home network you might want to share music, pictures, videos etc., or even printers with other devices on that network. In such situations, you can change the network location to Private to make your computer discoverable to other computers.
The following the steps demonstrates how to change a network location from Public to Private or Private to Public.
Step 1: Find the current network type of your connection
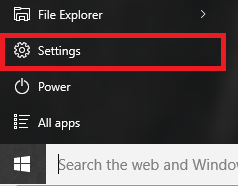
Click Windows Key and select Settings from start menu
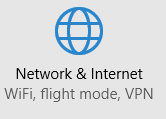
From the settings window click Network & Internet
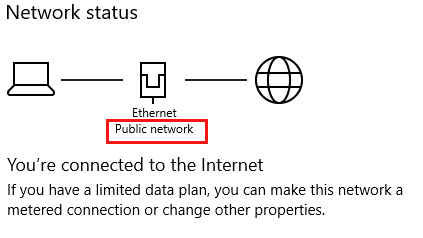
The network status screen shows the connection type.

Step 2. Change network location to Public / Private
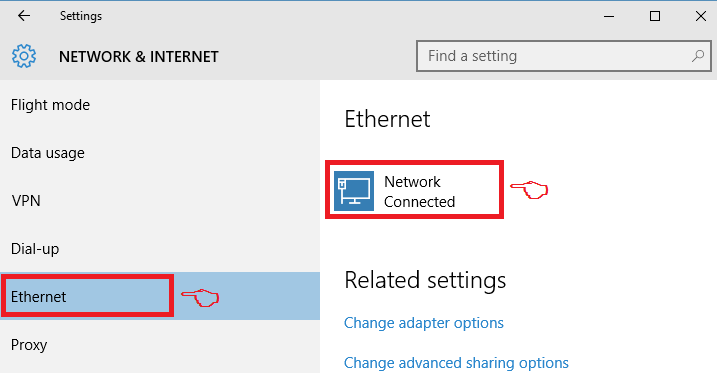
From the left pane, click Ethernet if your connection is a wired connection or WiFi in case of a Wireless connection and then Click on your network connection icon.
Select Public
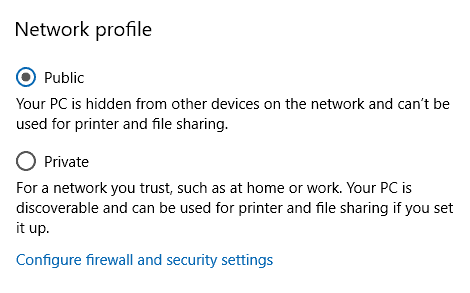
The network location will then change to Public
Private network type will have Network discovery on by default which allows other devices on the network to see your PC. You could customize this option from Advanced Sharing Setting menu in Network and Sharing Center. To share files and devices on a Private network you need to first create a homegroup and choose what to share.
post by sanjeet sahoo...................................
https://technicaltipsandtrices.blogspot.in
ConversionConversion EmoticonEmoticon